Using Bash and command line in everyday work
After this chapter, the students can enable command-line tools on personal MacOS and Windows computers.
These instructions have been tested on MacOS Ventura and Windows 10 Home Edition running on a virtual machine. I have no experience on using either of the operating systems and hope that the information is valid (or resembles the required steps) on other versions of the OSes.
Command-line work on MacOS
Instructions for using the Terminal program are available at the Apple home pages.
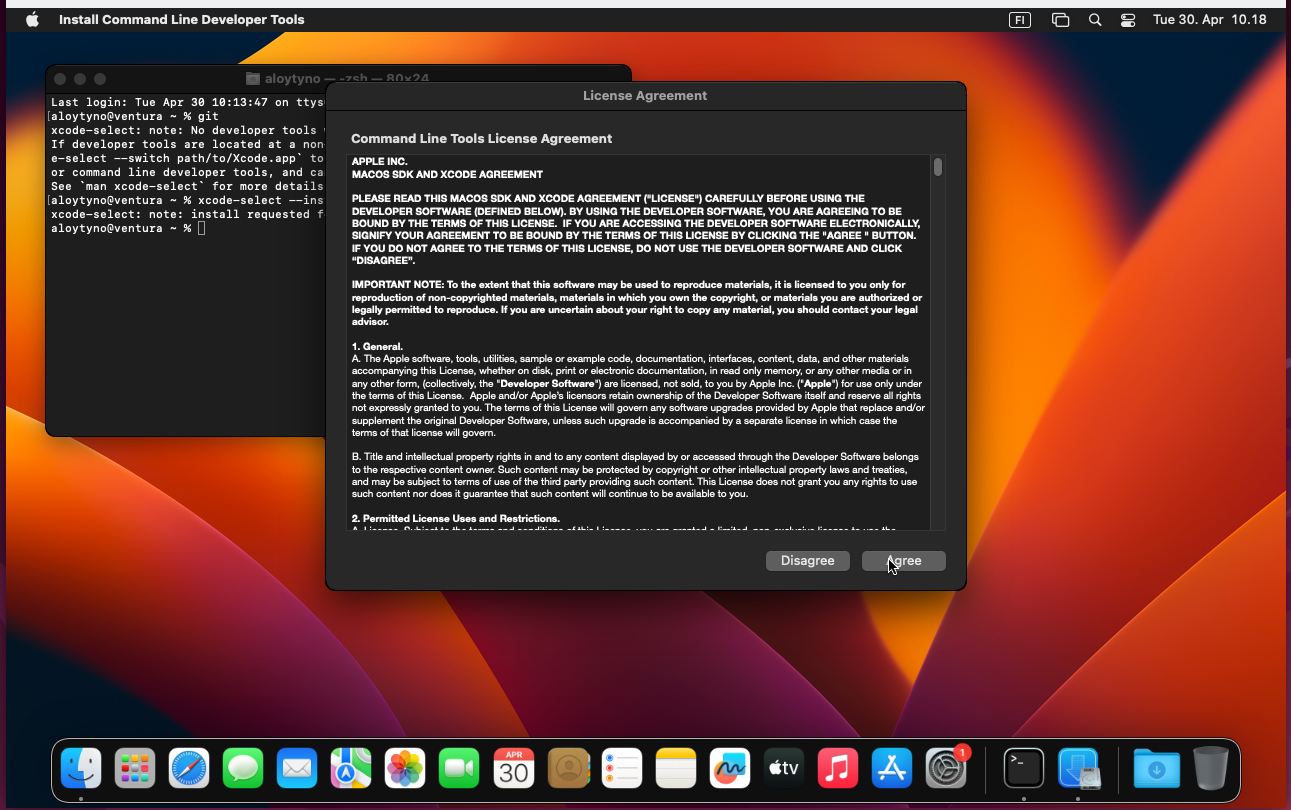
The default Terminal provides only very basic command-line commands and programs and does not contain everything needed for the course exercises. Many of the missing programs are contained in the Command Line Tools package available in the Mac App Store. The package can be installed with the following Terminal command:
$ xcode-select --installDetailed instructions can be found in the internet. One page is available here.
Apparently, trying to use a missing command-line program triggers the installation prompt:

The course material can be cloned from GitHub by executing the following commands in Terminal:
$ cd ~/
$ git clone https://github.com/ariloytynoja/IntSciCom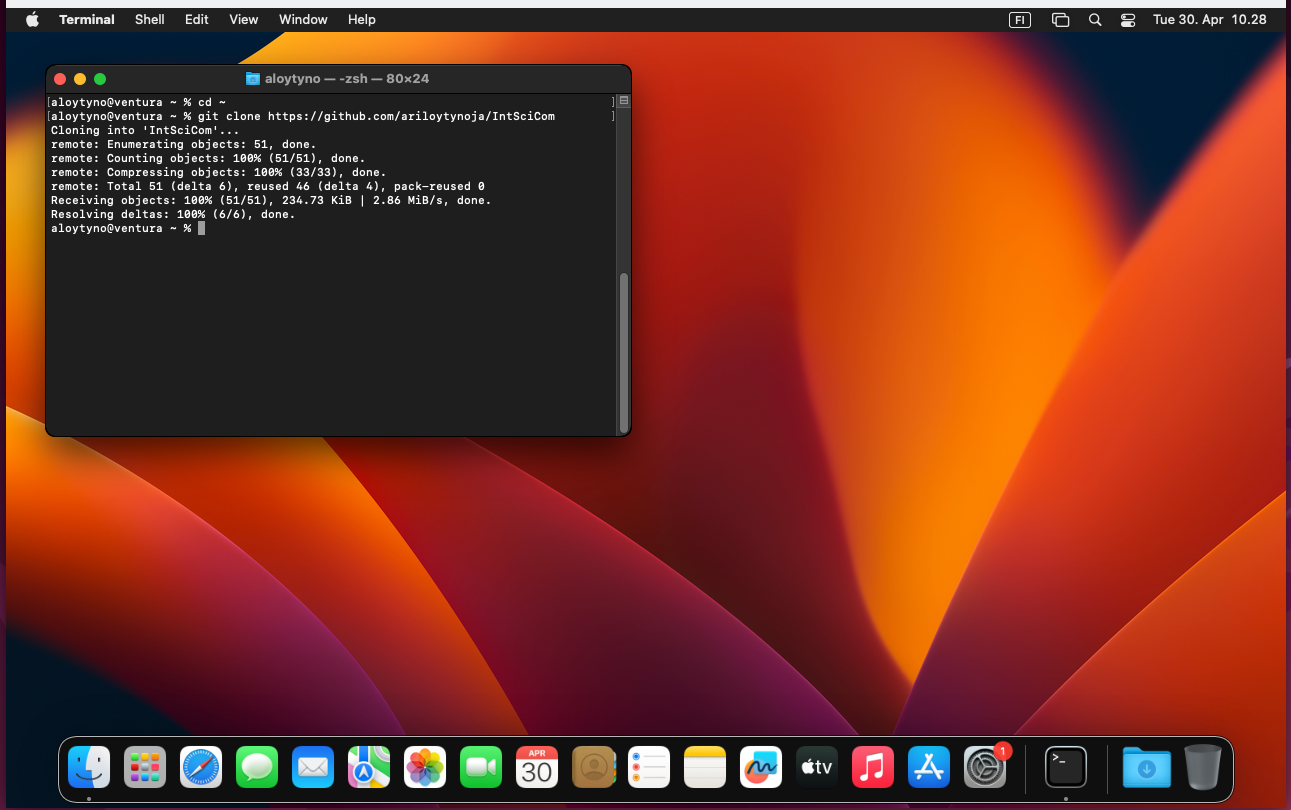
This places the folder IntSciCom in the home directory as on the course machine and the commands should have the right path. One may have to make trivial adjustments in the commands containing the absolute path starting from the root. The differences between Linux and MacOS file paths are explained in the section Absolute and relative file paths.
With that, it should be possible to do most of this course exercises on one’s own MacOS computer:
Homebrew
Anyone aiming to use MacOS for serious command-line work should probably get familiar with Homebrew and install the missing programs from there. Homebrew contains many bioinformatic analysis tools e.g. for genomic analyses.
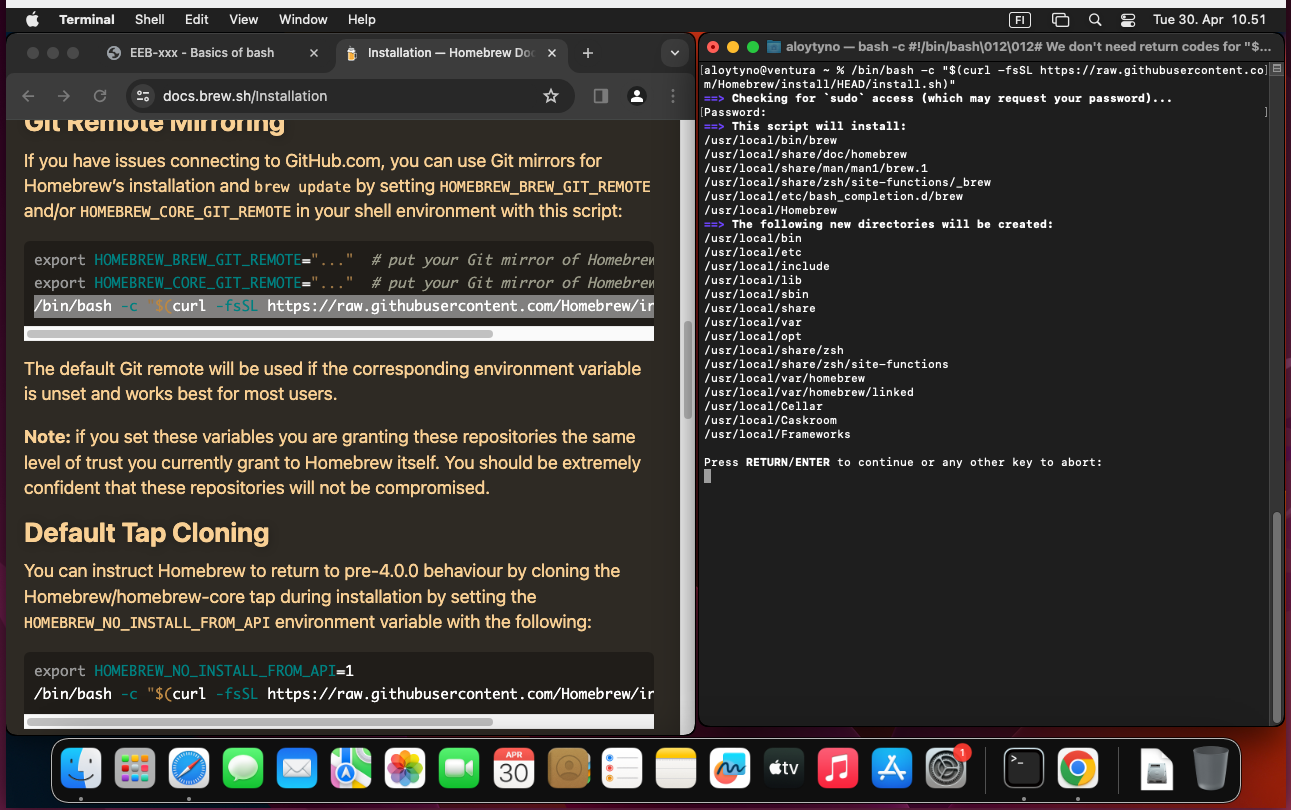
With the Command Line Tools first installed, Homebrew can now be installed with the command:
$ /bin/bash -c "$(curl -fsSL https://raw.githubusercontent.com/Homebrew/install/HEAD/install.sh)"Instructions for the installation are provided at the Homebrew site and e.g. here. Instructions for using Homebrew are available at the home page and in the internet.
Jupyter
Jupyter should run easily on MacOS. As explained at https://jupyter.org/install, it can be installed either with pip (a Python installer) or with Homebrew. The latter does it simply with the command:
$ brew install jupyterlab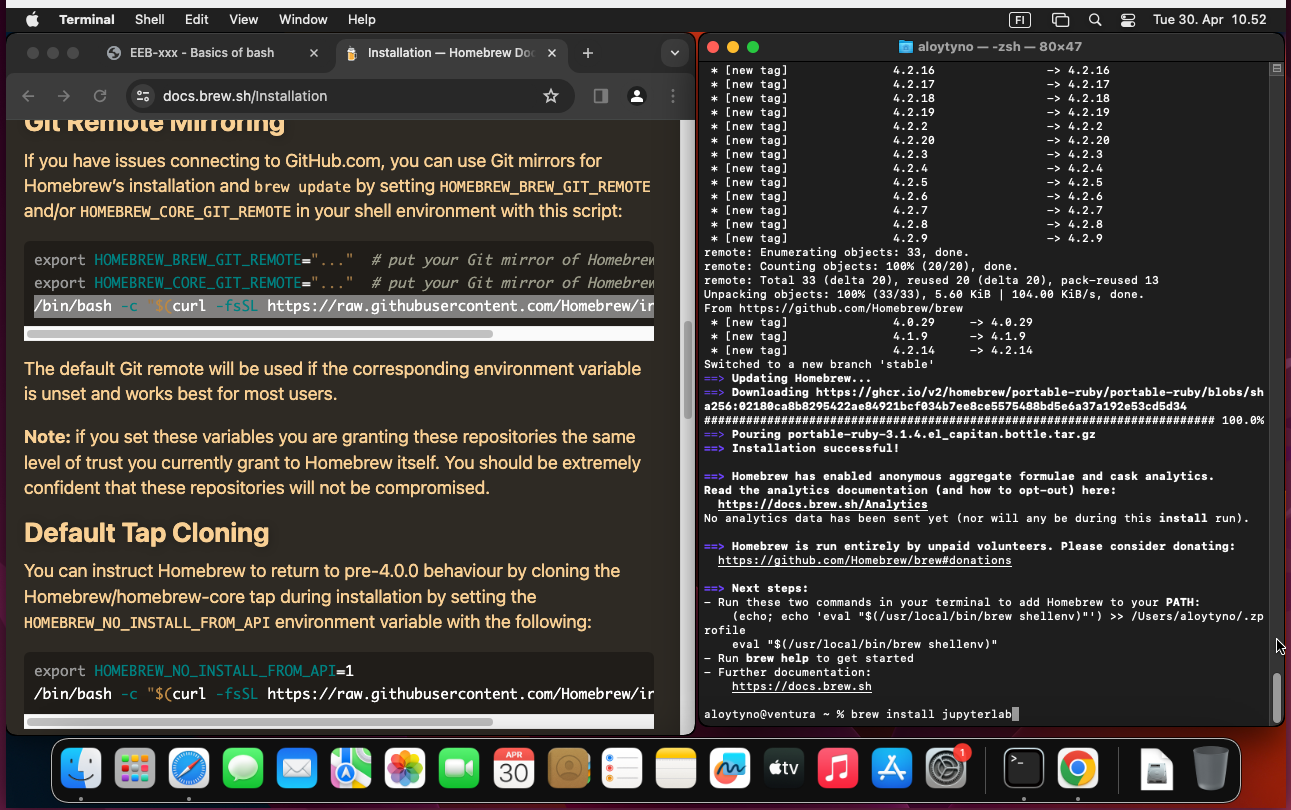
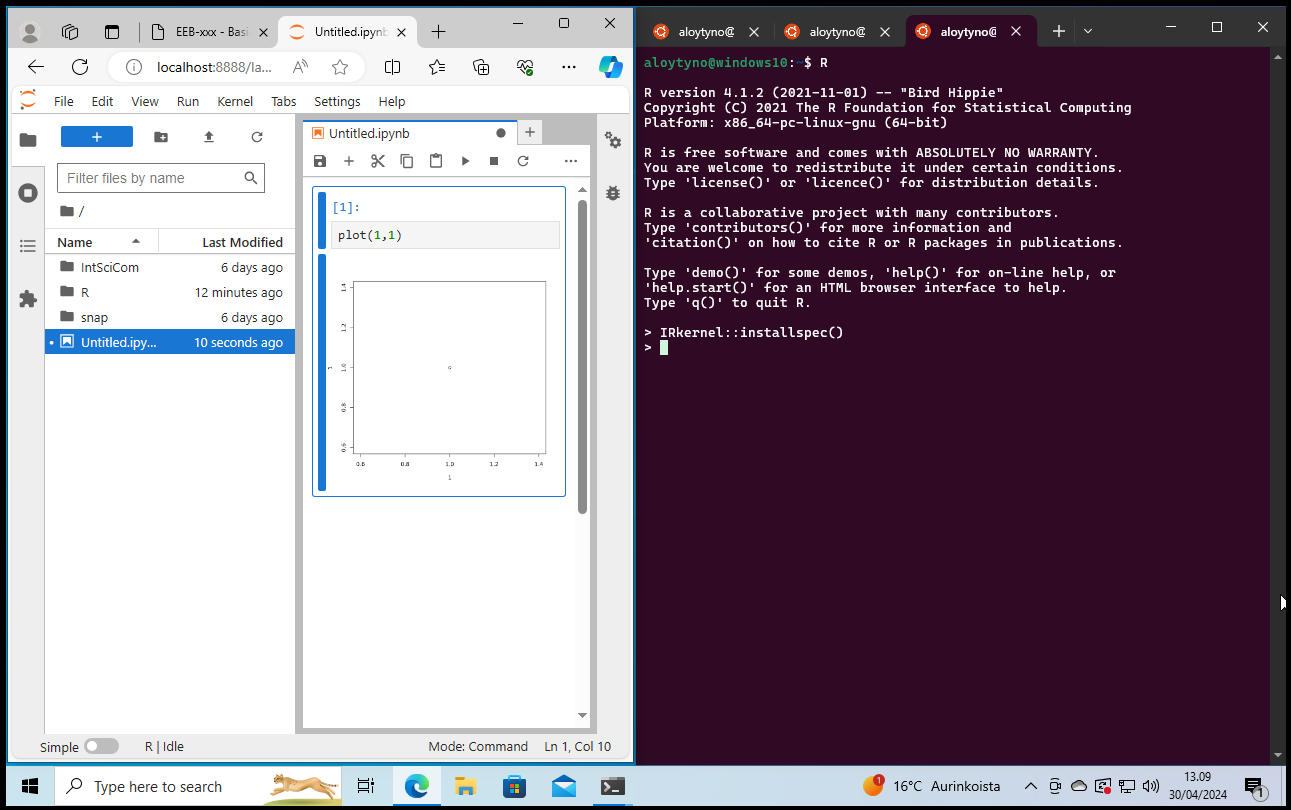
Once installed, either restart the Terminal program or open a new tab. With that, the Jupyter server can be started with the command:
$ jupyter lab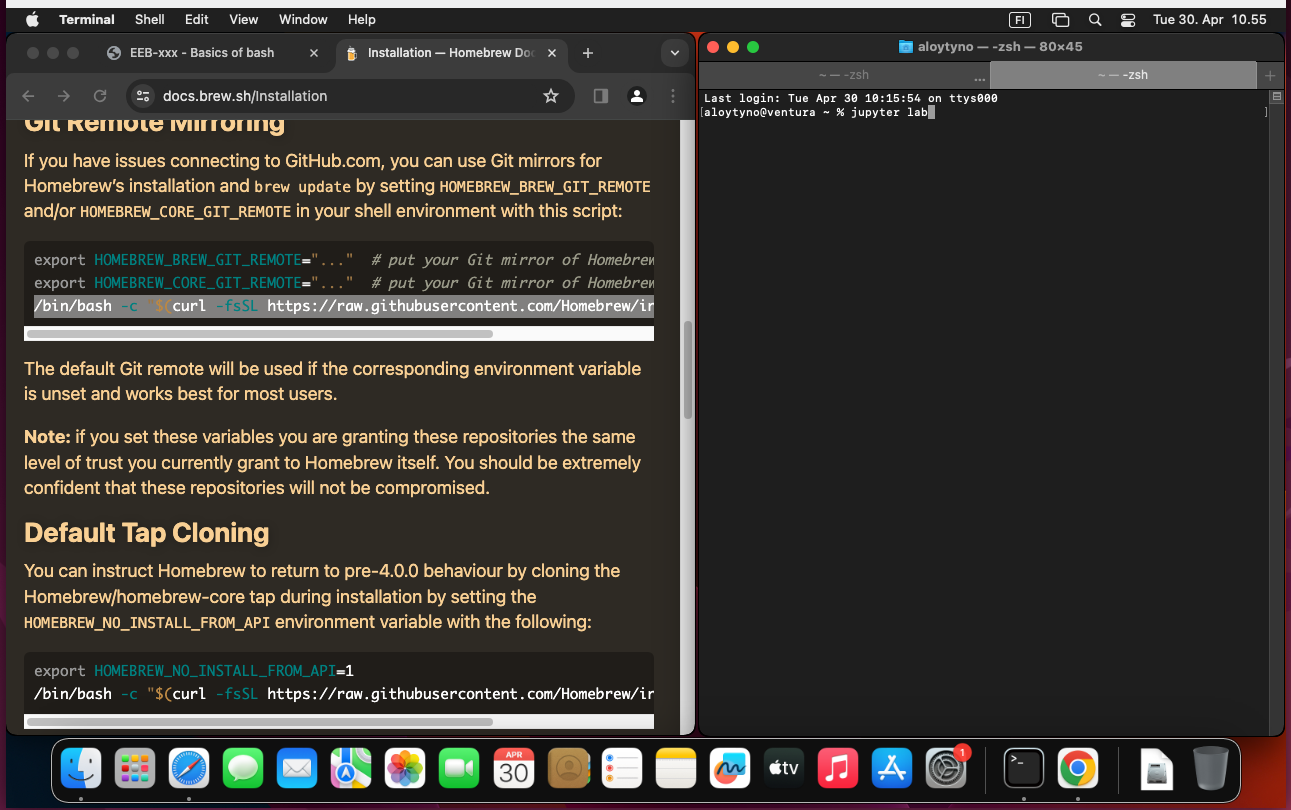
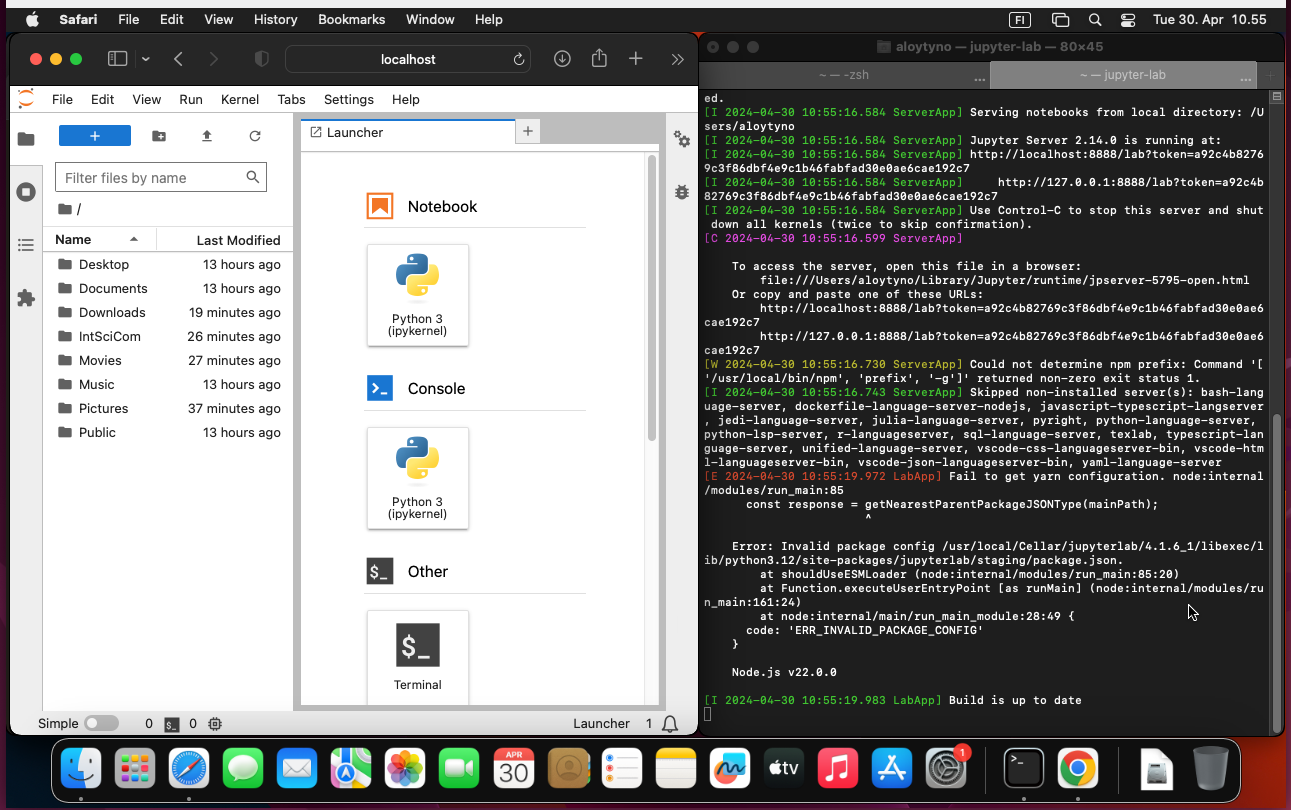
By default, this sets the root of the Jupyter file system at the current directory (one can of course go to a suitable directory before executing the command) and the URL port to be 8888. These can be changed with additional parameters as explained at the Jupyter documentation. With the default settings, Jupyter can be accessed with the web browser at the URL http://localhost:8888. If Jupyter is meant to run for a long time, it may be practical to start it within a screen session as explained in the section Multiplexing with screen.
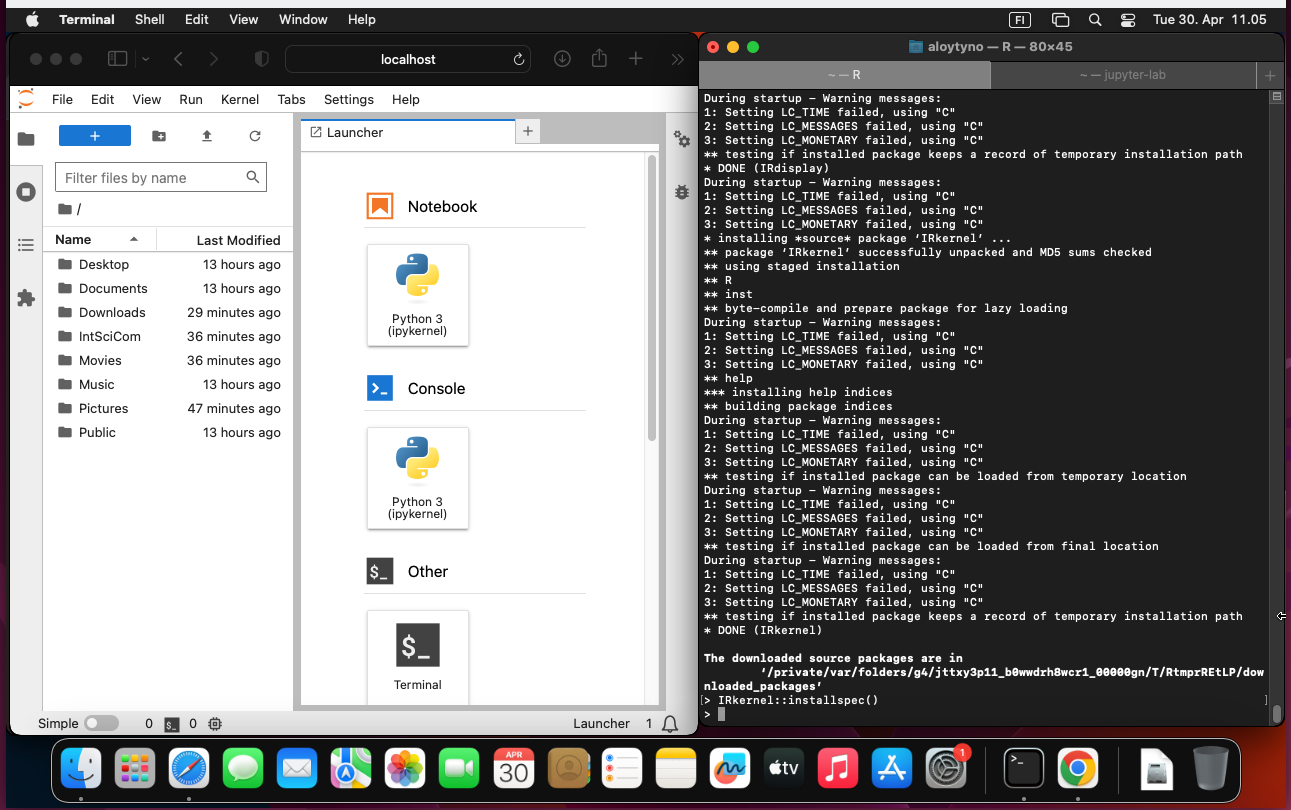
The installation of the R kernel for Jupyer is explained in https://irkernel.github.io/installation/.
First, install R:
$ brew install r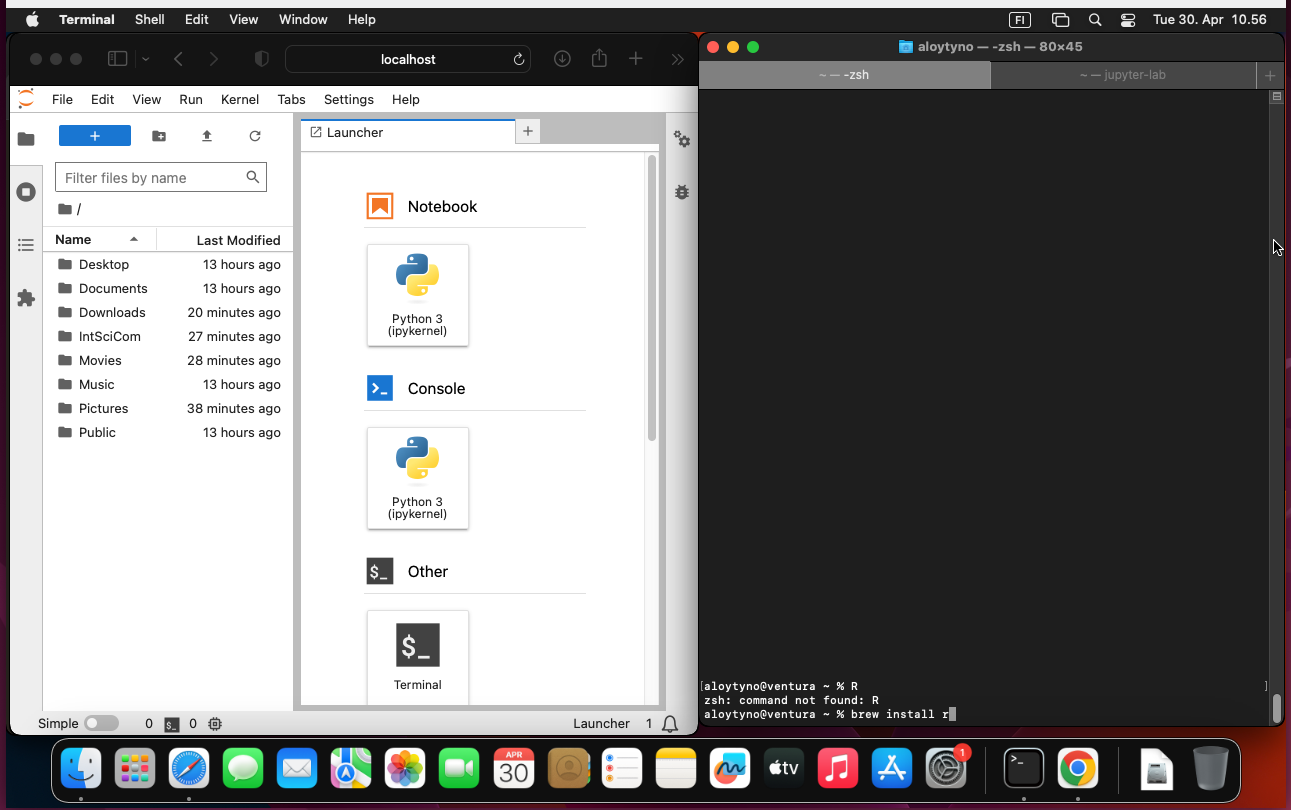
Then, within R, install the package and make it available:
install.packages('IRkernel')
IRkernel::installspec()
(When installing, select the installation mirror by giving the number of a nearby place.)

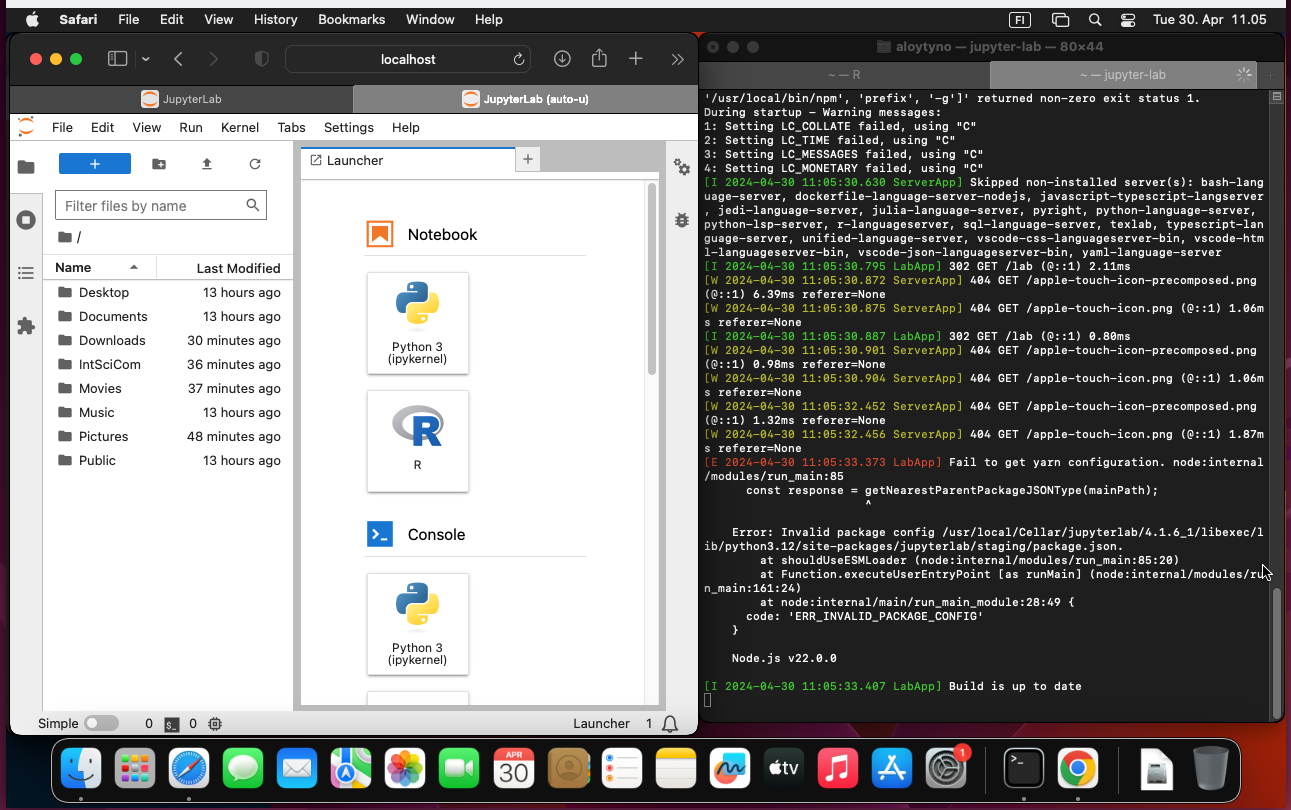
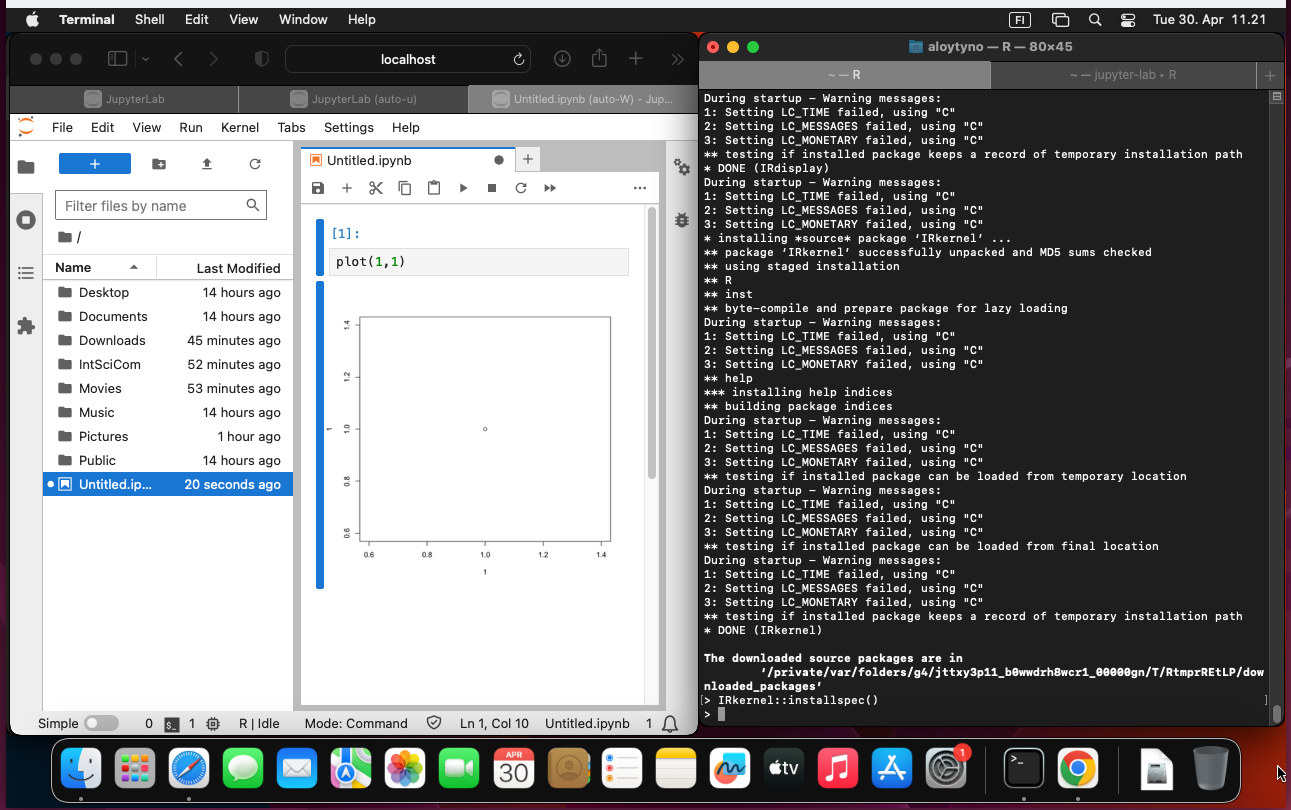
Stop (Ctrl+c) and restart the Jupyterlab server:
Command-line work on Windows
Installation of WSL
Instructions for installing the Windows Subsystem for Linux (WSL) in available at https://learn.microsoft.com/en-us/windows/wsl/install. The process is outlined below using a minimal Windows 10 Home edition.
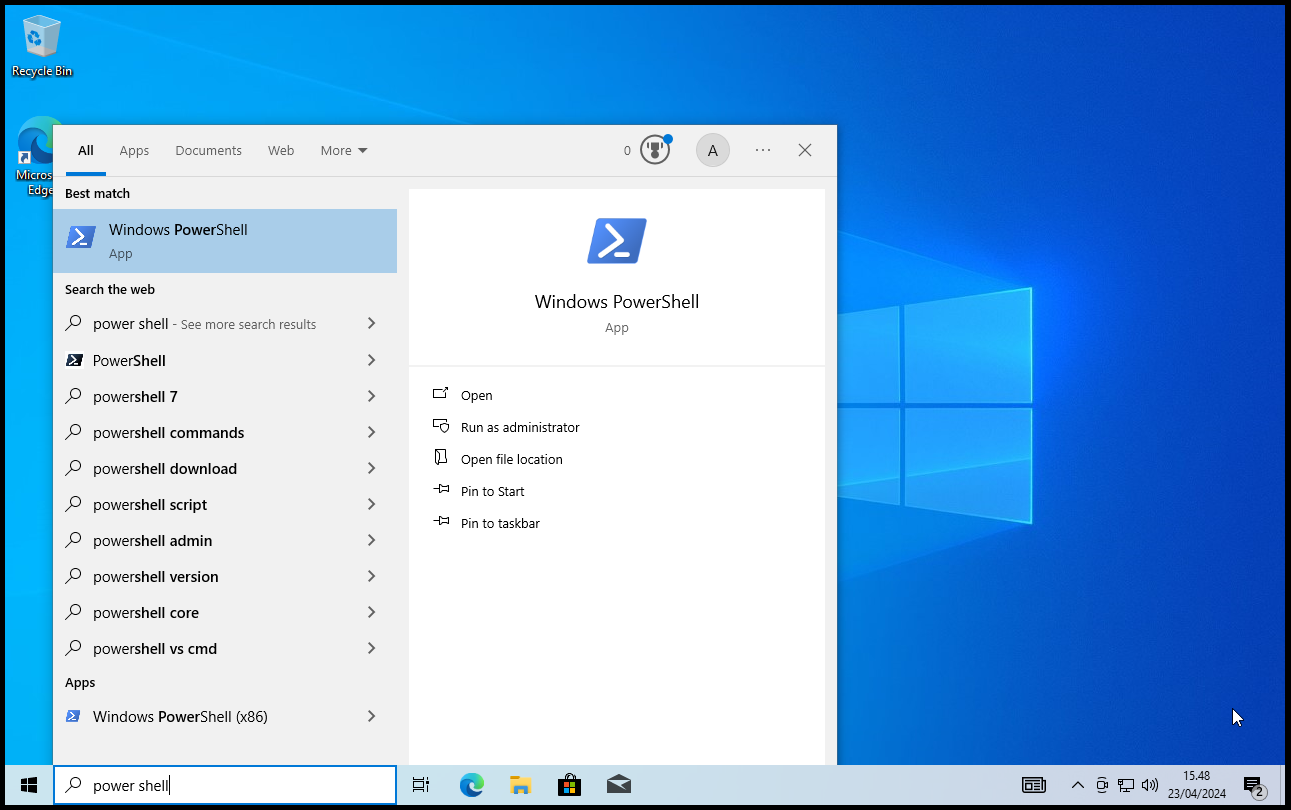
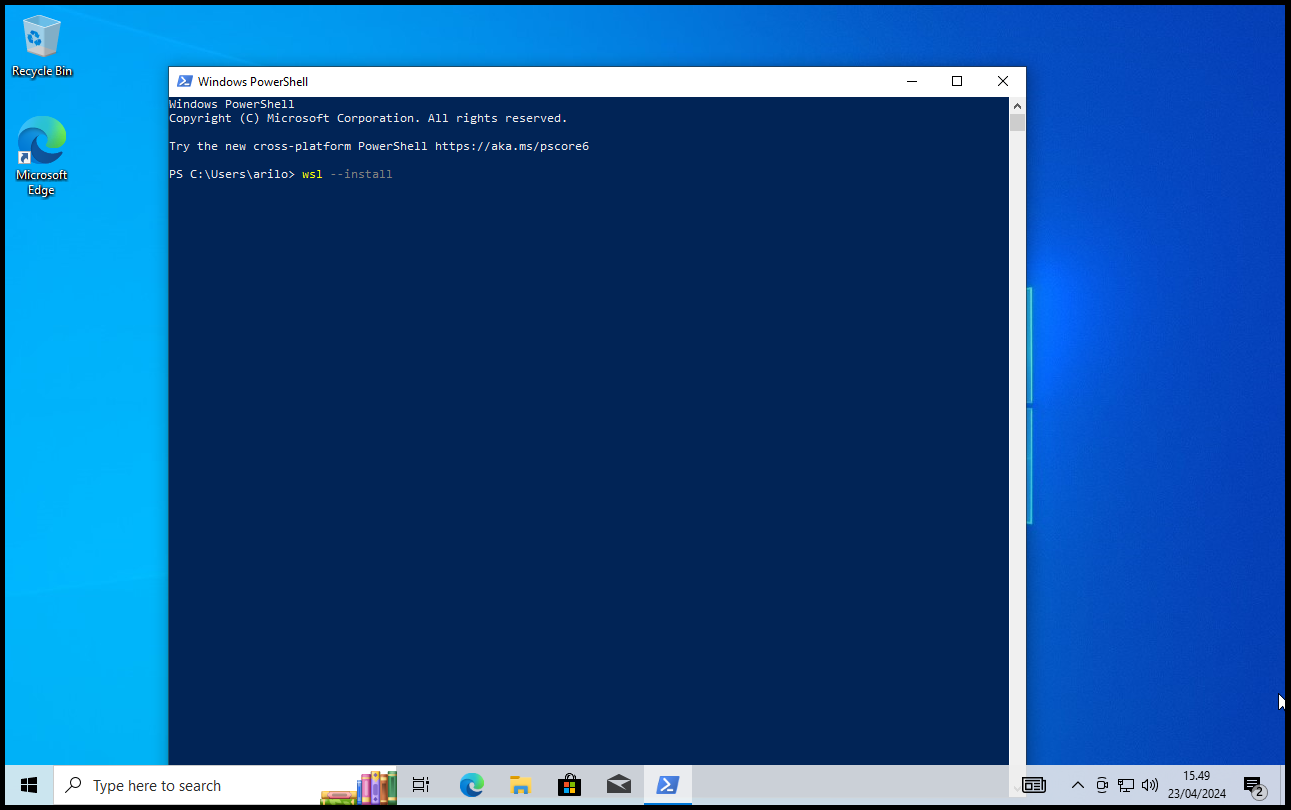
Start PowerShell:
Execute the command wsl --install:
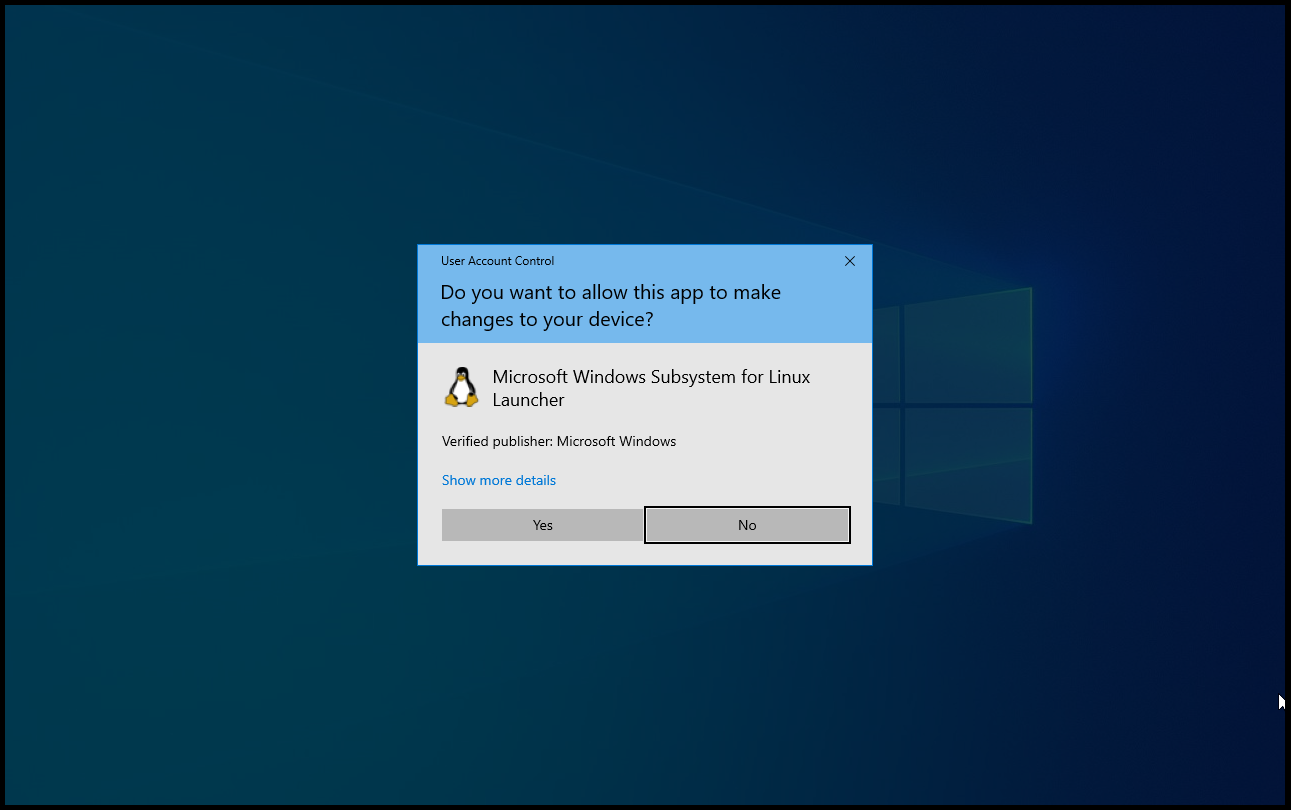
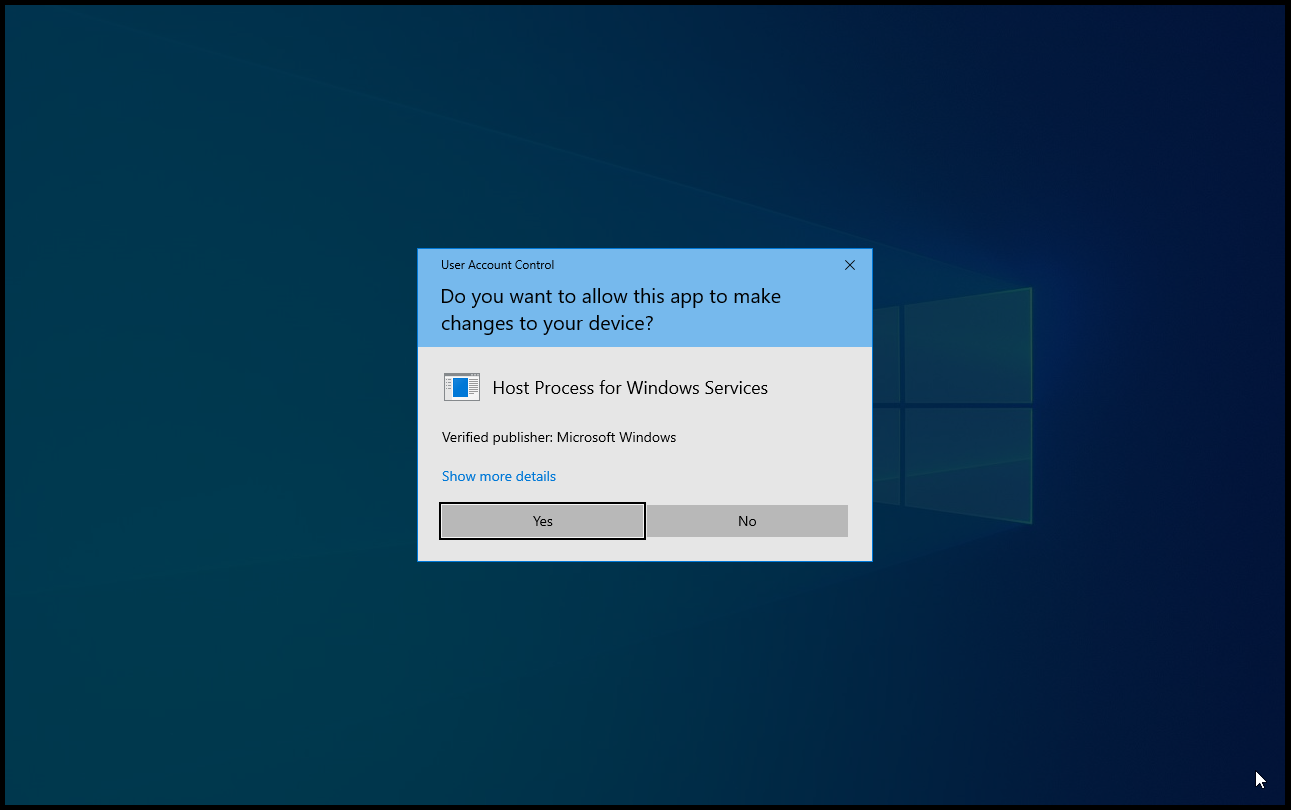
Click Yes for the next two questions:
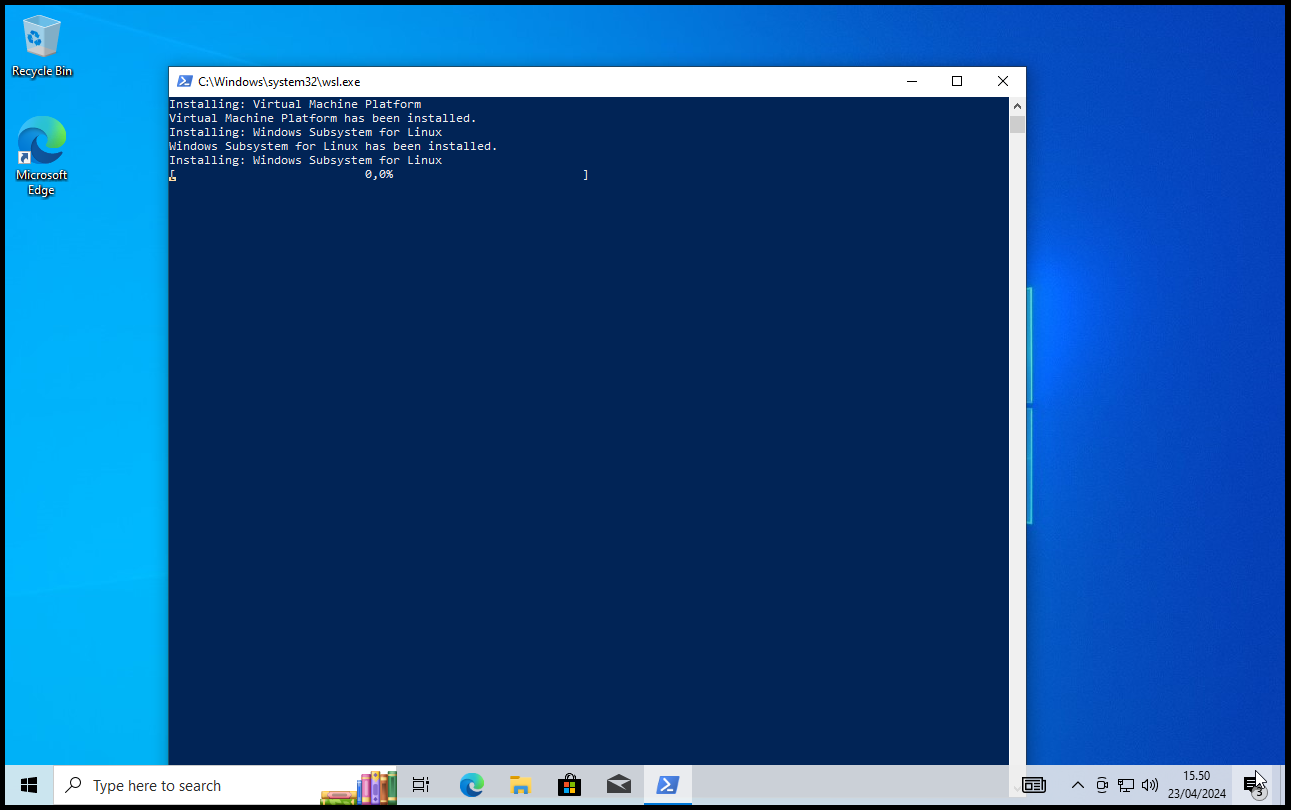
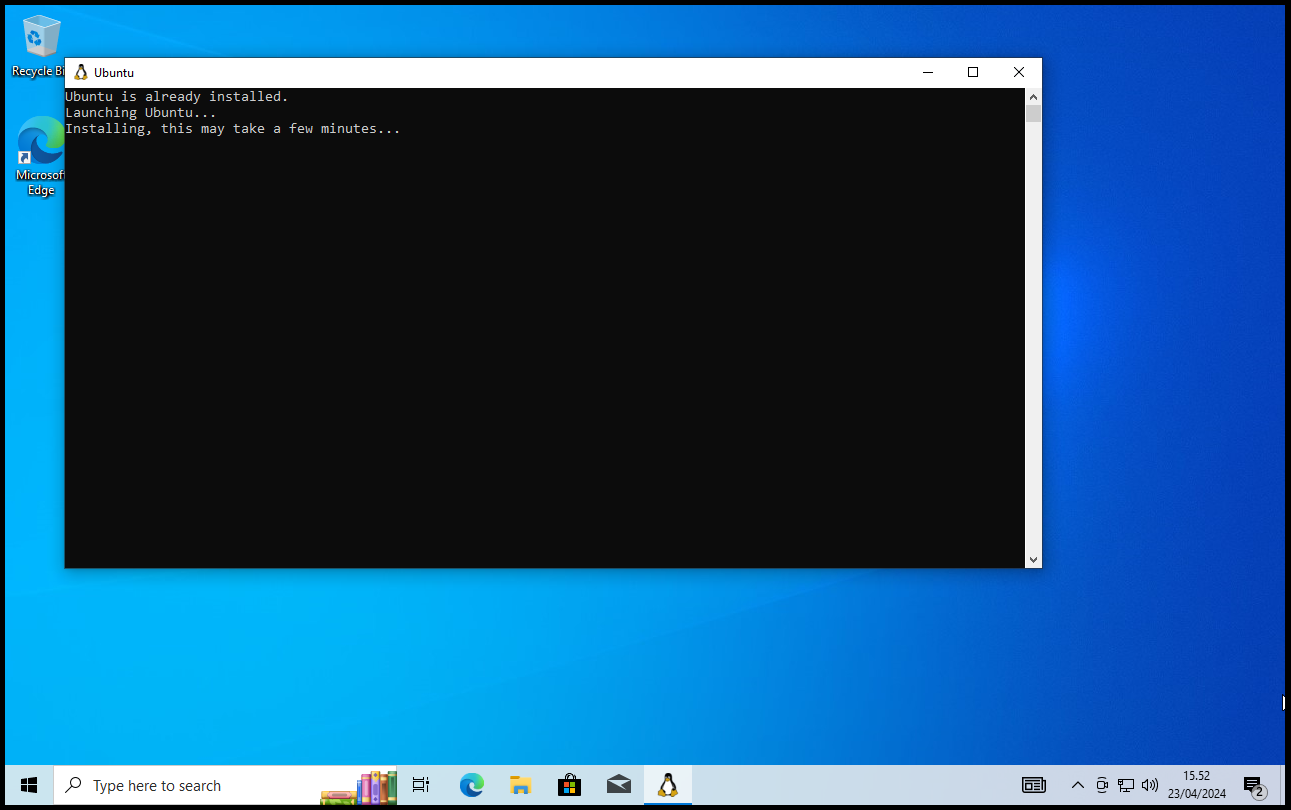
Wait for the installation to proceed:
Reboot the system:
Wait for the installation to proceed:
Give a Linux username and password of your choice:
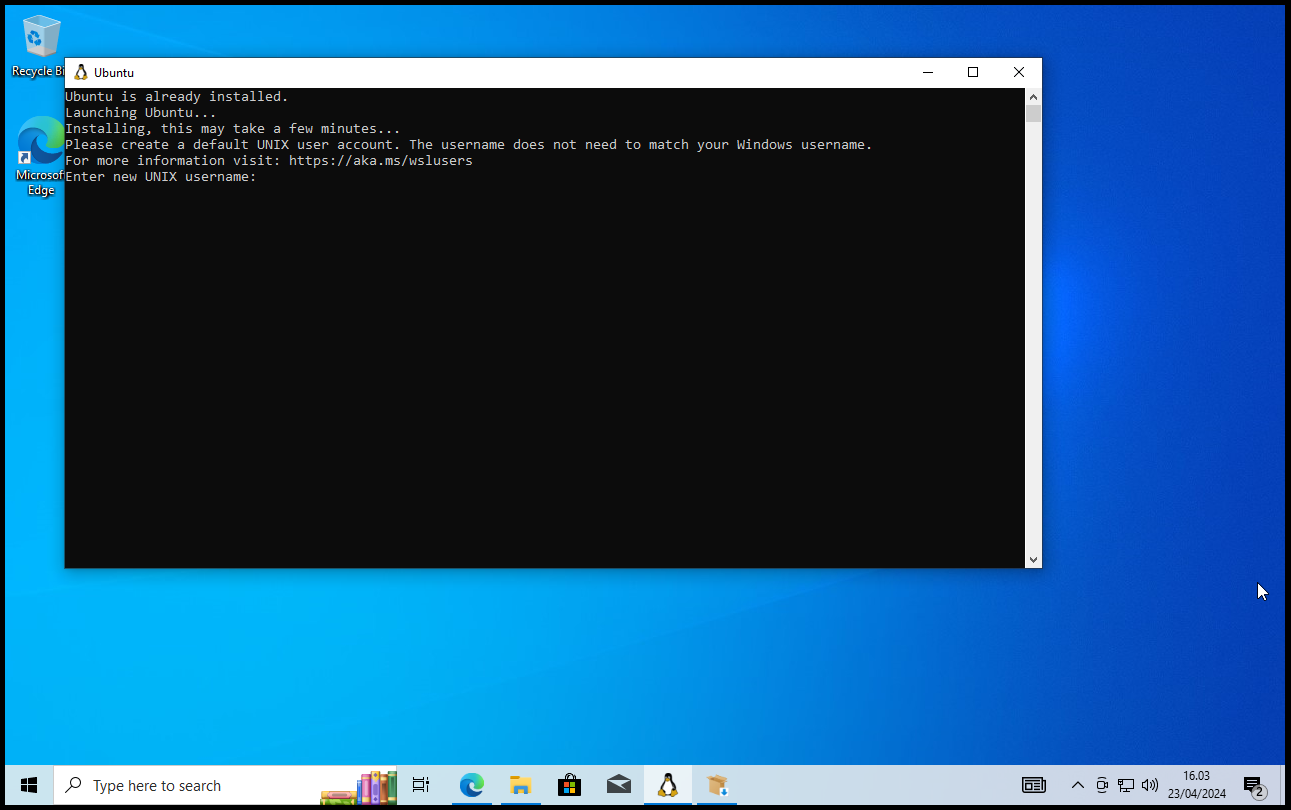
My installation got stuck on the second last step: somehow pressing Ctrl+C helped and moved the process to the username step.
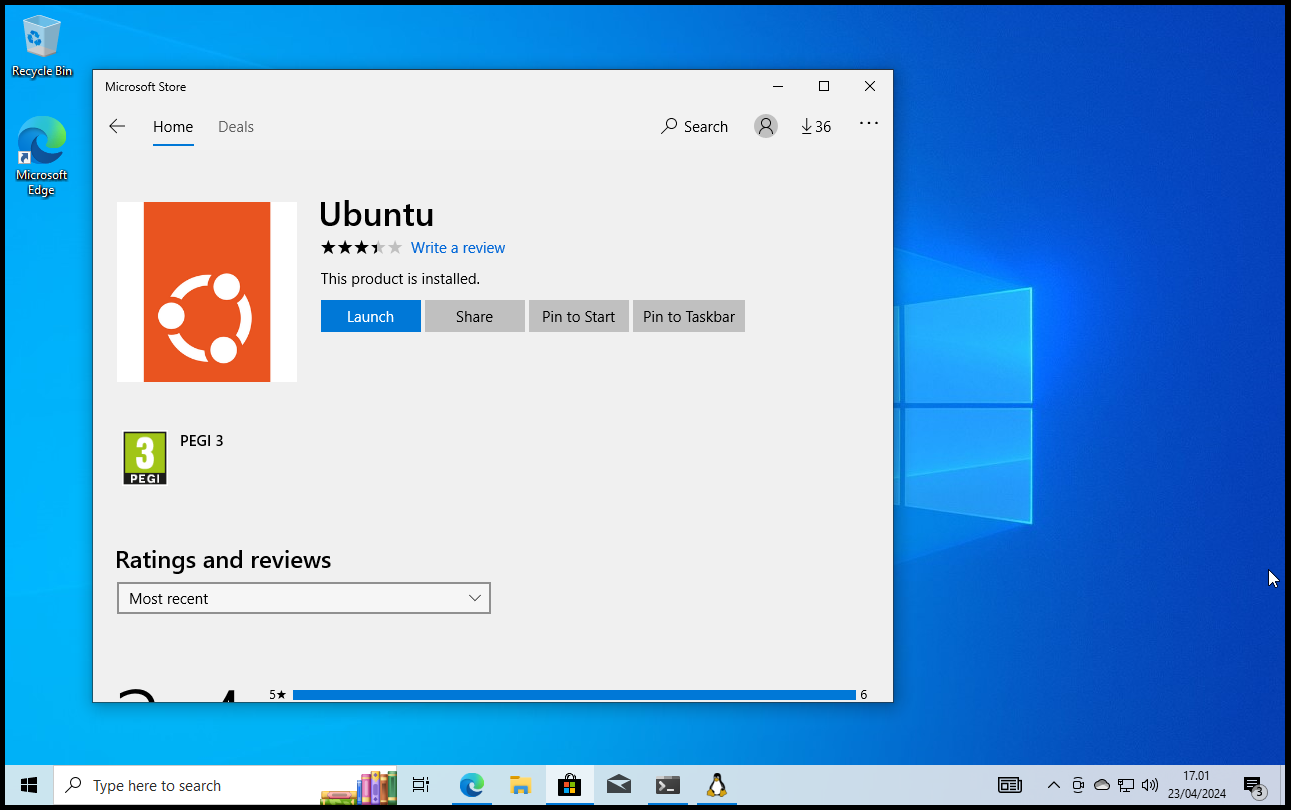
An alternative to the command-line approach is to install “Ubuntu” from Microsoft Store. I didn’t test that.
Microsoft provides instructions for setting up the WSL system. One especially useful step is to install of a more powerful terminal program.
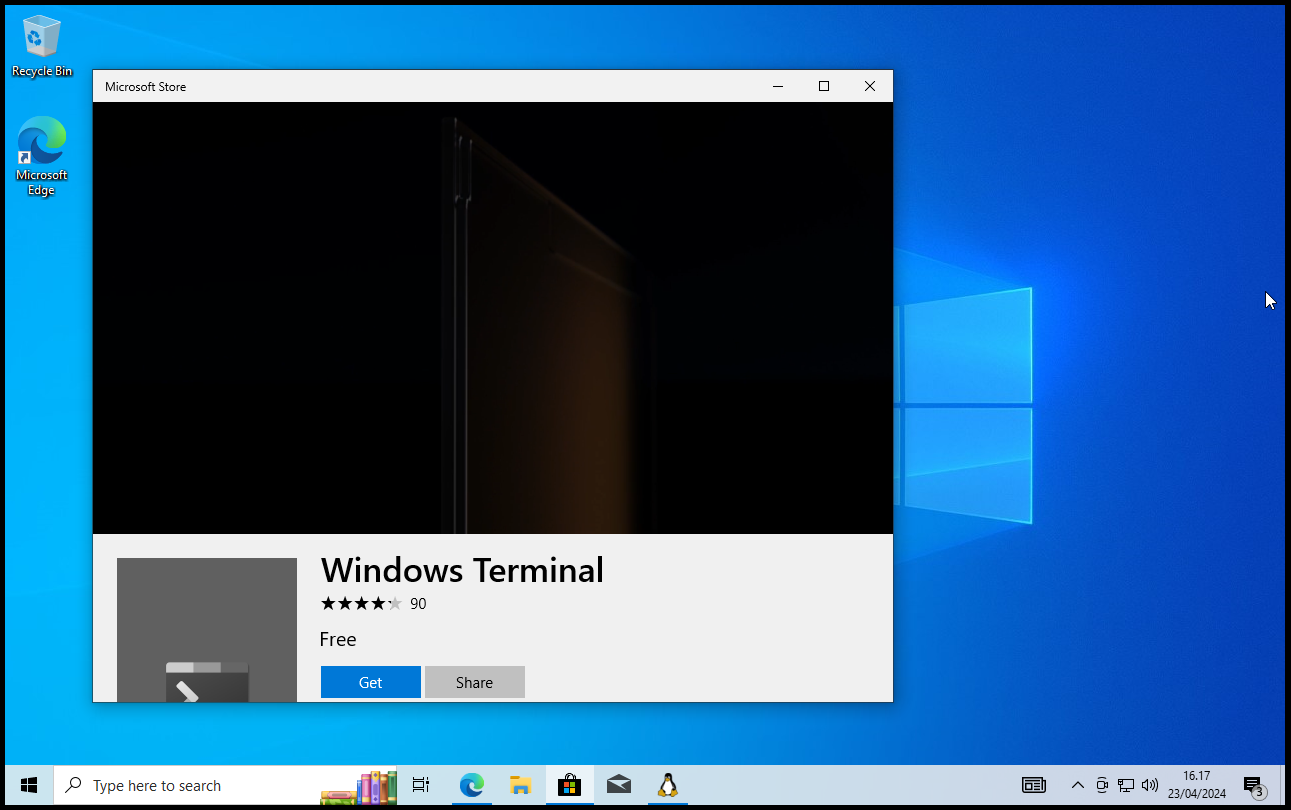
A useful addition is the Terminal program available in the Microsoft Store:
Once running, the top bar of the terminal window, next to the plus symbol for creating new tabs, has a pull-down menu. By choosing “Ubuntu” from that pull-down menu, the new tab is using the WSL and logged in with the Linux username:
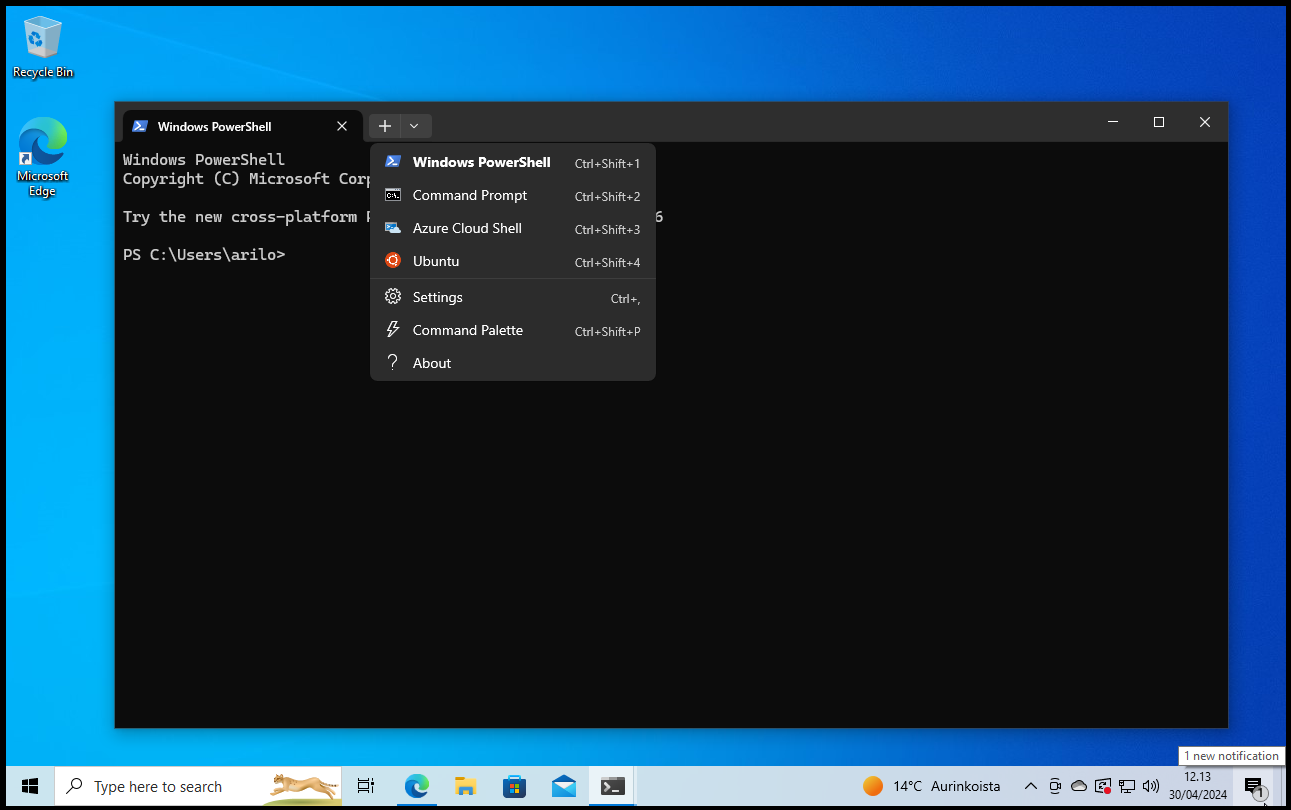
The option “Ubuntu” is also available in the launch menu under the Terminal program.
Serious scripting requires a text editor that supports programming. One such editor is Notepad++ available at https://notepad-plus-plus.org/. When installed, the program can be started from within the WSL with the command:
$ /mnt/c/Program\ Files/Notepad++/notepad++.exeNote that auto-completion with Tab works also in WSL.
Usage of WSL
With the WSL tools, it should be possible to do most of this course exercises on one’s own Windows computer. The material can be cloned from GitHub by executing the following commands in the shell:
$ cd ~/
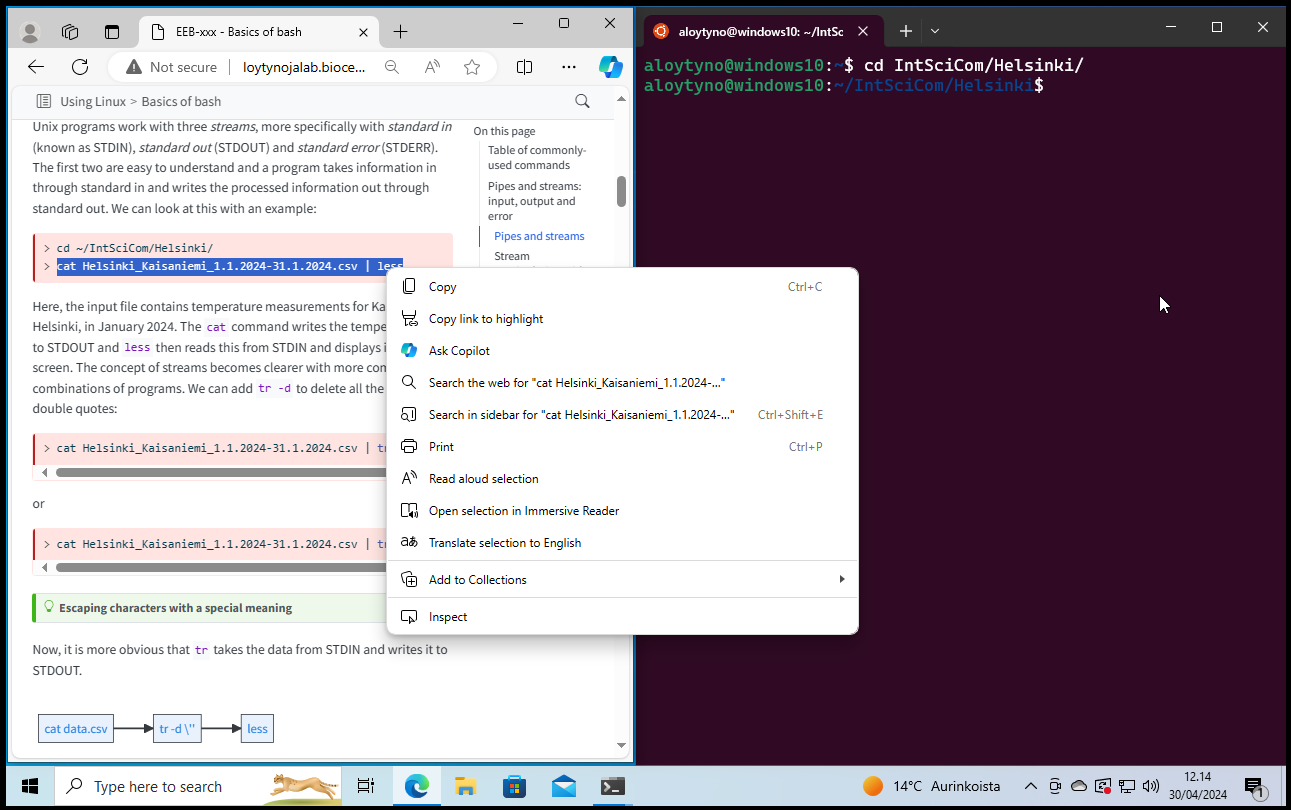
$ git clone https://github.com/ariloytynoja/IntSciComAfter that, the Bash commands in the course instructions can be executed in the shell. Note that one can copy the text by right-clicking the selection and then choosing “Copy”; the text can then be pasted by right-clicking the shell window:
The WSL Ubuntu has several package managers for the installation of programs. Binary programs can be installed with smap and apt. Of the programs mentioned on the course, the default installation lacks at least tree. Using snap, this can be installed with the command:
$ sudo snap install treeHere, sudo means that the subsequent commands are executed as the superuser who has the rights to make changes in the system. sudo asks for the Linux password that was given when installing WSL. sudo is needed for installation of new programs but an inexperienced user should otherwise use the command carefully.
Jupyter
If using WSL for data analysis, R is needed. This can be installed with apt using the commands:
$ sudo apt update
$ sudo apt install r-base
and accepting the suggested packages by pressing Enter.
R packages can be installed from within R but it is often easier (and much faster) to install them with apt. The packages available in the repository can be checked with:
$ apt search r-cran The package names are given in the header lines and can then be installed with sudo apt install <name>.
The installation of Jupyter is explained at https://pypi.org/project/jupyterlab/. On WSL, it is easiest with pip, the Python package manager.
Install first pip and ipython:
$ sudo apt install python3-pip ipython3and then Jupyter-lab:
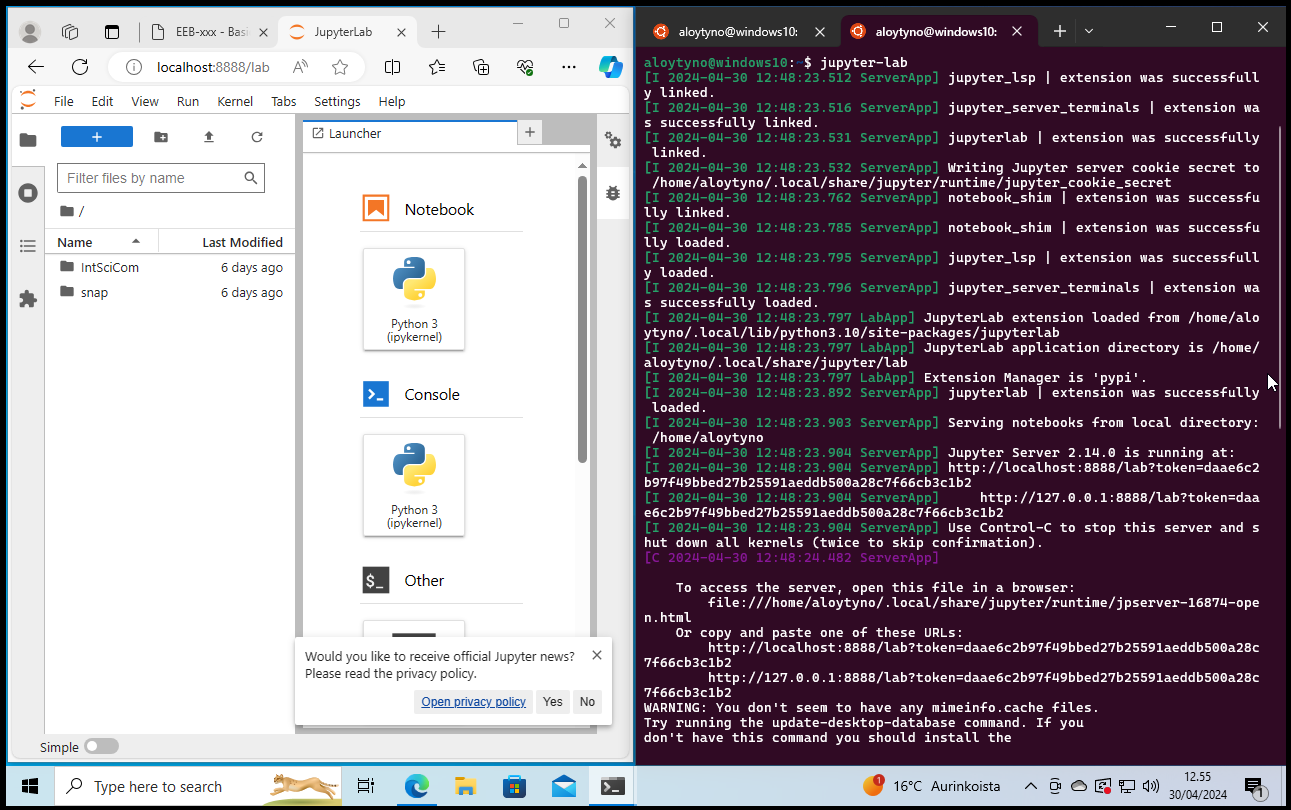
$ pip install jupyterlab
Restart Terminal or open a new tab, and then start the Jupyter-lab server:
$ jupyter-labLook at the output and search for the lines saying:
To access the server, open this file in a browser:

Or copy and paste  one of these URLs:
Do as advised and copy one of those URLs into the web browser URL field.
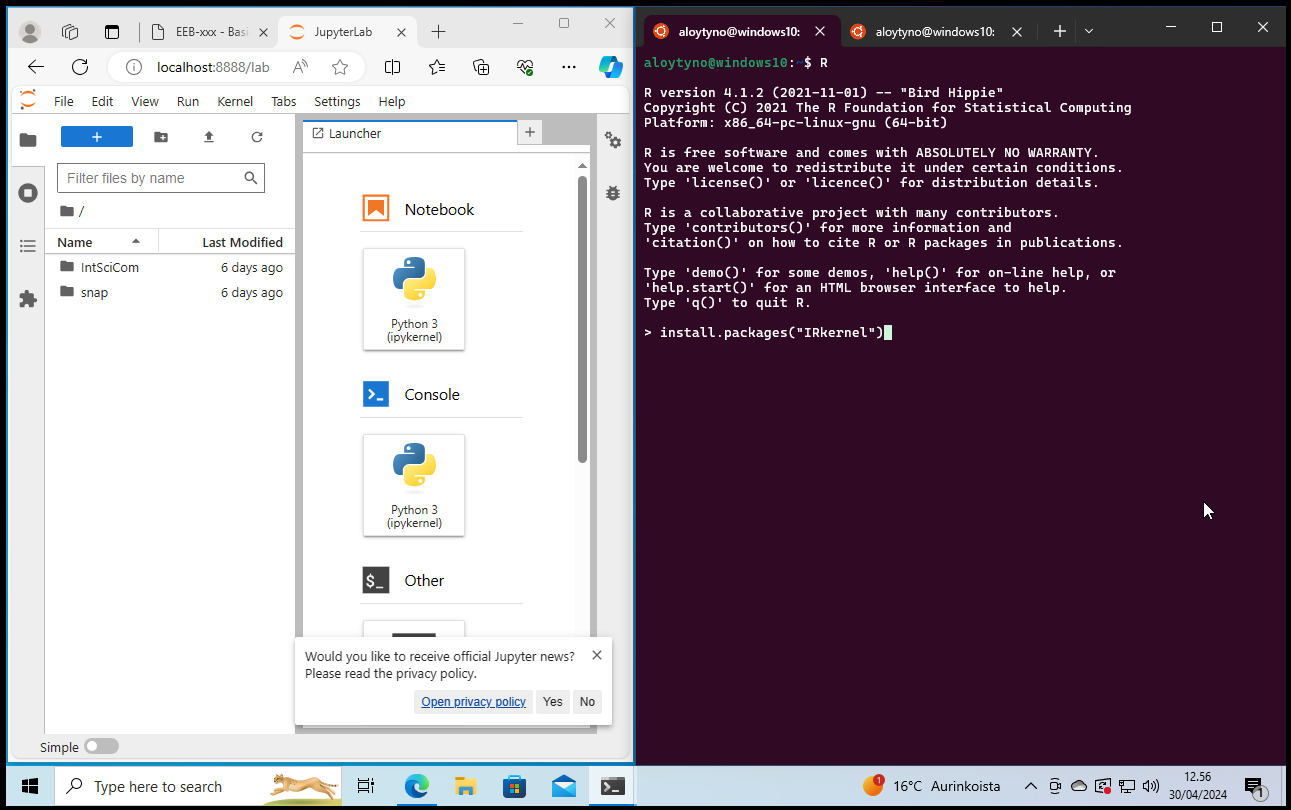
For the R kernel, start R and, within R, install the package and make it available:
install.packages('IRkernel')
IRkernel::installspec()
(When asked, type “yes” for the questions.)
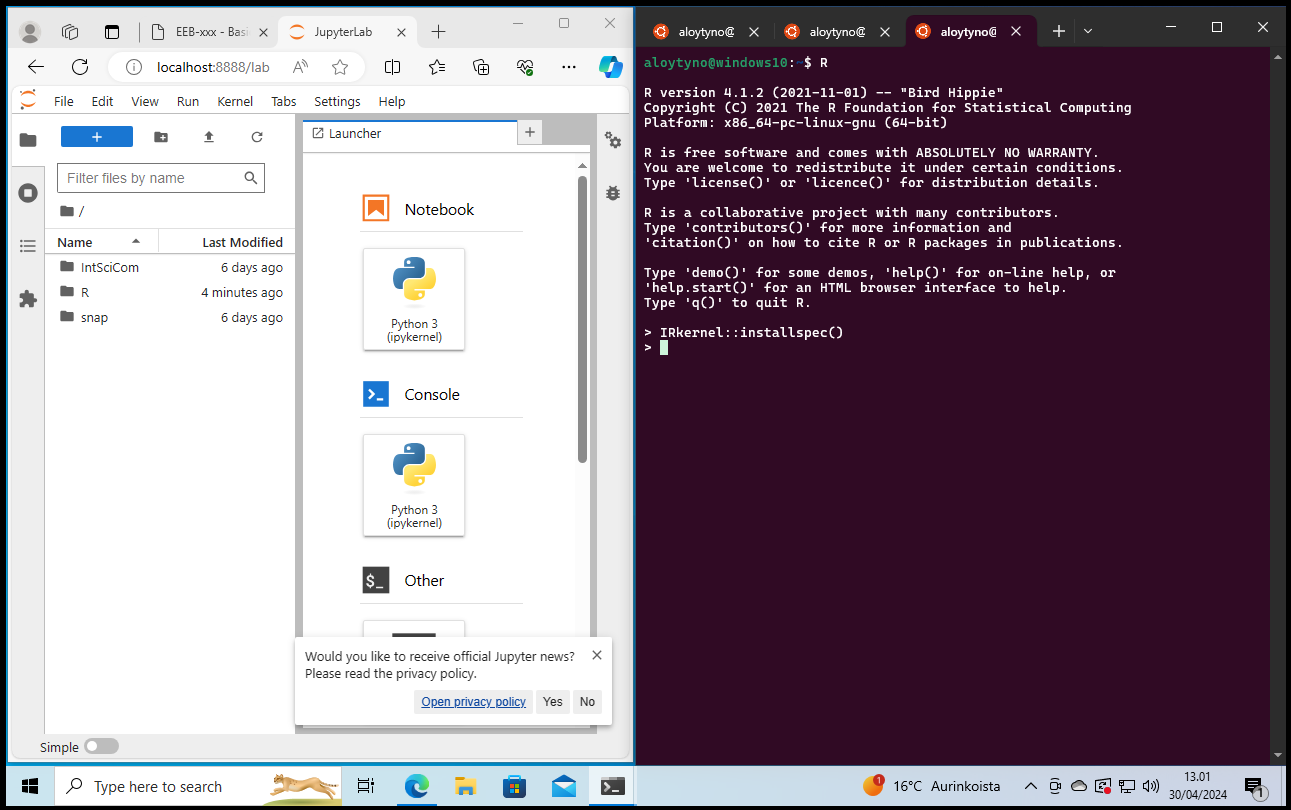
Stop (Ctrl+c) and restart the Jupyterlab server:
MacOS and Windows provide scripting languages to automate tasks on the native applications. However, the native scripting languages tend to focus on graphical applications and, to lock in the users to the current OS, they are system-specific and thus ill-suited for reproducible research. Fortunately, Bash shell and many command line tools can be enabled on both platforms, making the operating systems useable for serious data analysis.
Advanced command-line work
Accessing CSC computers through Terminal
The Terminal programs on both MacOS and Windows are real terminal programs and, in principle, superior alternatives to accessing the CSC computers through a browser-based terminal (as explained in the first section, Alternative terminal). If one has joined the CSC group (see the first section), the CSC Puhti computer can be accessed from Terminal with the command:
$ ssh username@puhti.csc.fiwhere username is the CSC username.
For frequent use of any remote server, one should definitely set up an SSH key that enables authentication without a password. The idea of SSH keys was explained in the section about Git and Public-private key authentication.
The process for enabling SSH authentication on CSC machines is explained in the CSC training material. Note that WSL is Linux and one should follow the Linux instructions.
Further documentation
CSC provides thorough documentation of their systems. The front page of the documentation is https://docs.. One may want to have a look at least on these pages:
University of Helsinki has a computer cluster of its own and provides a Jupyter interface similar to CSC’s to access it. The existing support for life sciences research is somewhat limited, but the UH IT unit will help installing the missing software. An overview of the UH services for research is given at:
Research group-level access to the HPC resources can be requested through the IT Helpdesk.